
Constructing a Fire Pit & Fire Building
There is no doubt that food & warmth was a routine & significant concern for the average soldier of the 18
Constructing a Fire Pit
Fire pits are either trench or keyhole style. The keyhole style looks like an old fashioned keyhole with a shallow round pit at the top & a smaller trench extending away from the circle. The circular part of a keyhole pit has a diameter of about 2 feet & the extension trench is approximately 2-3 feet long. A trench pit should be at least two feet wide & four long.
Both keyhole & trench pits should have 2 levels to effectively manage several levels of heat. In a keyhole, the large round part is shallow & houses the fire for warmth, roasting bacon, & drying socks. The rectangular extension slopes down to 10-12 inches deep for the cooking coals. That’s where you sweep the coals for cooking & maintaining heat - & for roasting corn. In a trench pit, simply slope the trench, so that it has a flat shallow area (most of it) & a deep end. Carefully remove the sod & set along one side of the trench. Pile the fill dirt around the remaining perimeter of the trench to serve as a wind barrier.
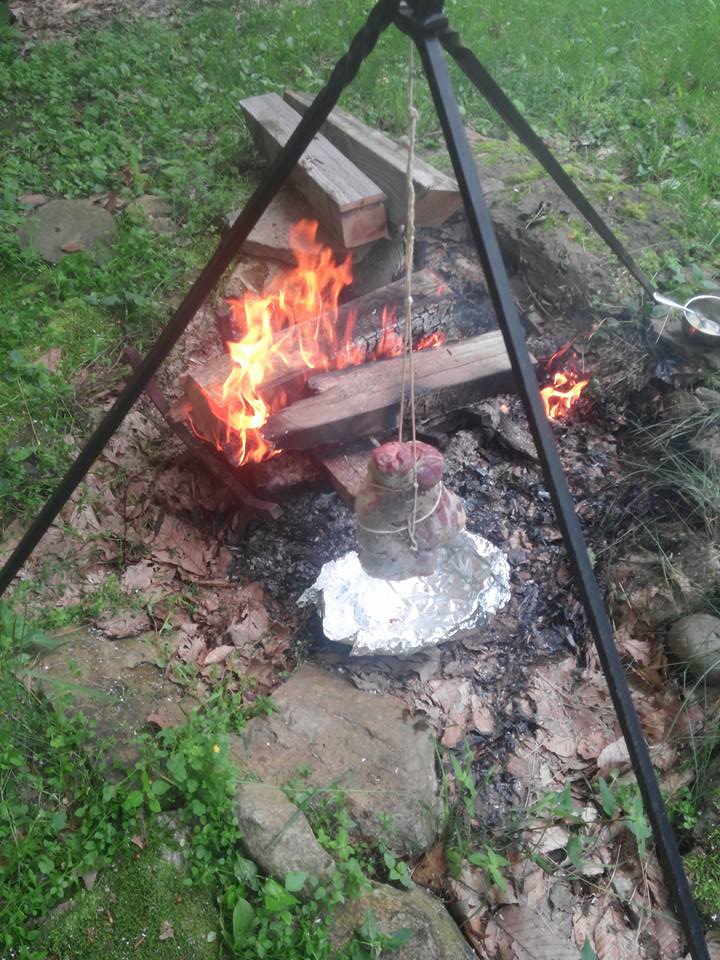
In the event requires the use of a steel fire plate to protect the sod, use two plates, one for the fire & a second for coals.
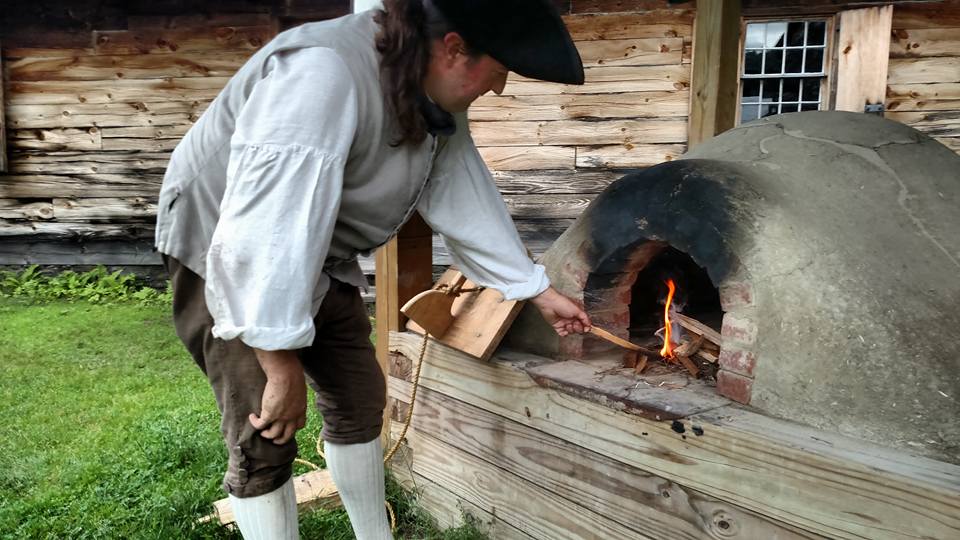
Fire Building
Assemble several 1 to 2-inch pieces of round or split dry wood “log cabin” fashion in 3 to 4 layers. This sort of fire will be easy to add to the top of, & has the additional benefit that it seems to make the best, fastest coals1.
Lay fine kindling & old tow from cleaning your musket at the bottom & then get your tinder to light. It is too late to build the fire when the char is already afire, especially if raining.
It is essential to keep the makings of a fire dry – although a well built & bright fire does not require a cover even in a hard rain, you must cover the makings of a fire during inclement weather.

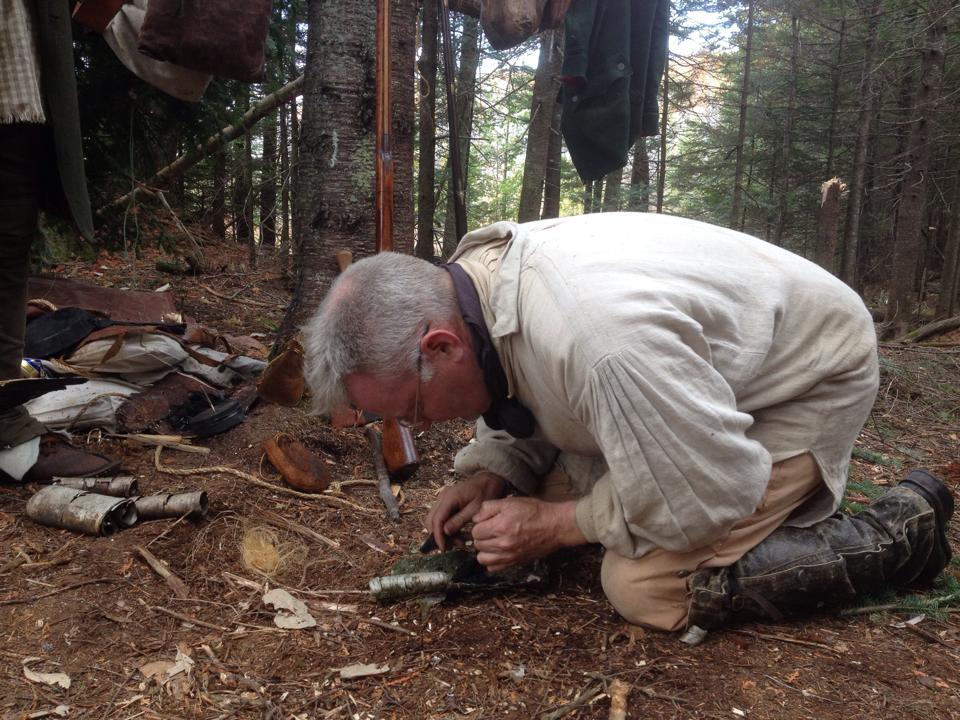
Making Fire from Flint & Tinder
It is highly recommended soldiers carry a flint & tinder fire starting kit in their knapsacks consisting of:
- Large chunk of flint
- A fire starting steel
- Several pieces of char cloth
- Tow, punk wood, or a "lighter knot"2
Before striking:
- Inspect the flint & knap a sharp edge with the steel.
- Build a small bird’s nest of dry tow or shredded bark four inches across, & compact it into a tight mass. Stuff the bird's nest into the palm of the hand that you will use to hold the flint.
- Take 1-3 pieces of char cloth, fold them in half, & place them on top of the flint, held by the thumb, supporting the flint with your fingers. Keep the bird's nest in the palm of your hand.
To Strike:
- Angle the convex side of the flint upwards towards the steel. Hold the steel at least a foot from the flint, using steel itself to guard the knuckles.
- Strike the steel against the flint with a long, swift stroke from the elbow until the cloth catches a spark & an ember glows3.
- Drop the steel & flint, paying particular attention to holding the char cloth between the thumb & fingers. Do not blow on the charred cloth, the ember will not go out. Fold the charred cloth one or two more times to increase its density, being careful not to smother the ember.
- Place the charred cloth in the center of your bird's nest cup the nest with both hands in order to help keep in the heat. Place the entire bundle in the center of your fire kindling. Blow until the assembly bursts into bright flames.
Making Charred Cloth
- Cut several pieces of linen or cotton cloth between 2 & 5 inches square. Do not use synthetics; they do not char.
- Place them in a small tinned container with a small (less than 1/8 in.) vent hole in the lid.
- Place the tin on or near the coals of a fire, & watch it carefully. The tin should smoke & flame through the vent.
- When the smoke no longer visible from the hole, remove the tin from the fire & cover or plug the vent hole to prevent the cloth from burning into ashes4. Wait for several minutes before opening the tin.
Properly charred cloth should be a uniform black. The cloth, although weak, should not disintegrate, fall apart under its own weight, or be ashy. Properly charred cloth requires a gentle force to tear it, & it should not leave black marks on the fingers when handled. If there is still color left in the fabric, then you did not cook it for long enough, or the tin was not hot enough.
1 Many modern campers lay tepee fires - that is, leaning small sticks against each other over a central pile of kindling. This is a clumsy fire to add to, & is good for warmth but slow to cook
2 Made from the heart wood of a rotten pine tree. The heart wood is impregnated with resin & will burn in nearly any weather & almost under water.
3 A solid stroke with a good steel against a sharp freshly-knapped flint will produce extremely hot sparks which fly through the air, make a fizzing sound as they fly, & feel like tiny pin-pricks when they hit the back of your hand.
4 If air is present, then the cloth will not char; instead, it will burn to ashes & be useless. As the cloth heats up, it gives off volatile gasses which rapidly fill the interior of the tin, driving out the air. These gasses are then vented through the tiny holes.